Plain-English summary#
You manage your team inside the admin backoffice — Settings → Organization → Users, which has a Members tab and a Role groups tab. You invite people, pick which apps they can use, assign role groups (bundles of permissions), and choose which outlets they can access. One login works across all Hubits apps. The role groups a person has decide every permission they get inside Foodops.
When you'd use this#
- Hiring a new cashier — invite, assign the Counter role, tie them to one outlet
- Giving the accountant read-only access to reports — Accounting Officer role
- Making someone a full admin — Administrator (all 250 permissions) or Owner (121)
- Investigating an incident — check the Audit Log to see who did what
- Plan change — re-scoping roles after upgrading to a plan with more features
How to access#
- Users: admin.foodops.io → Settings → Organization → Users — Members tab + Role groups tab.
- Audit log: Settings → Audit Log in the admin backoffice.
Prerequisites#
- Your organisation must exist (created at signup) — the founding user gets the Administrator role automatically
- You must be logged in with a role that has the "Manage Users" permission (Administrator or Owner by default)
- The person you're inviting needs a valid email address — all Foodops invitations go by email
Walkthrough A — invite a new user#
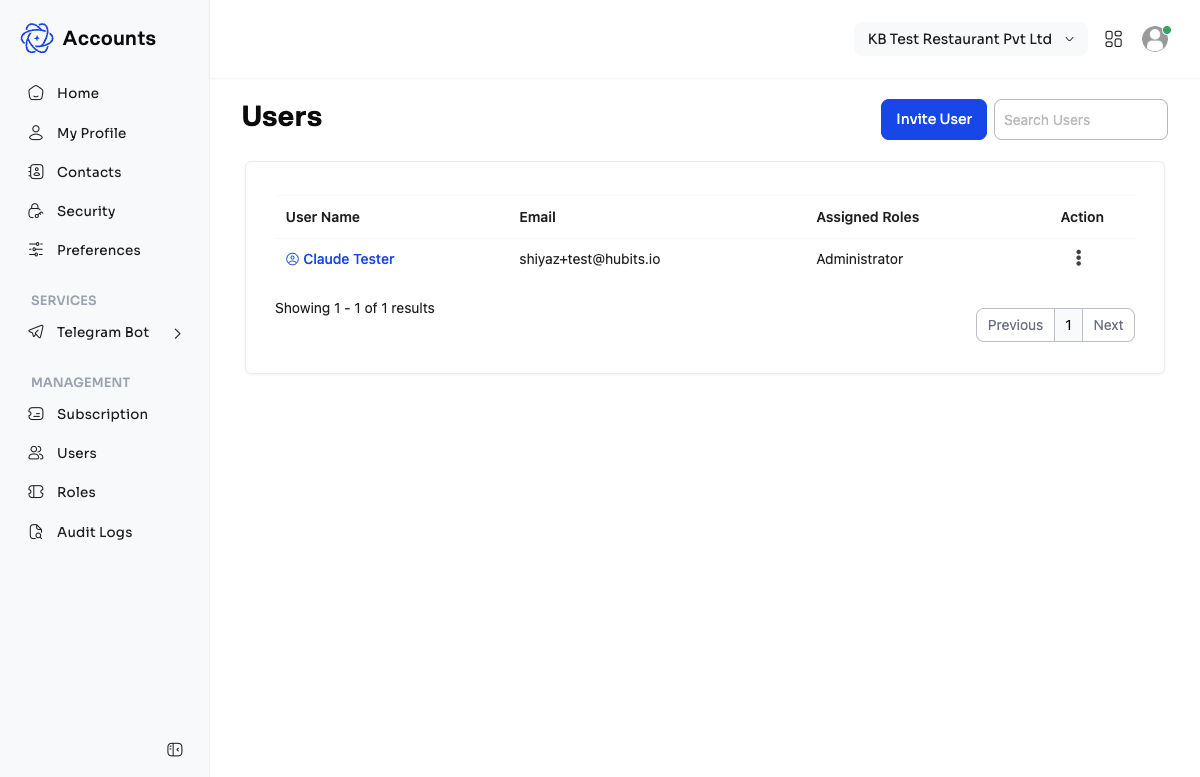
1. Open the Users page → Members#
admin.foodops.io → Settings → Organization → Users → Members tab → Invite member.
2. Fill the invitation dialog#
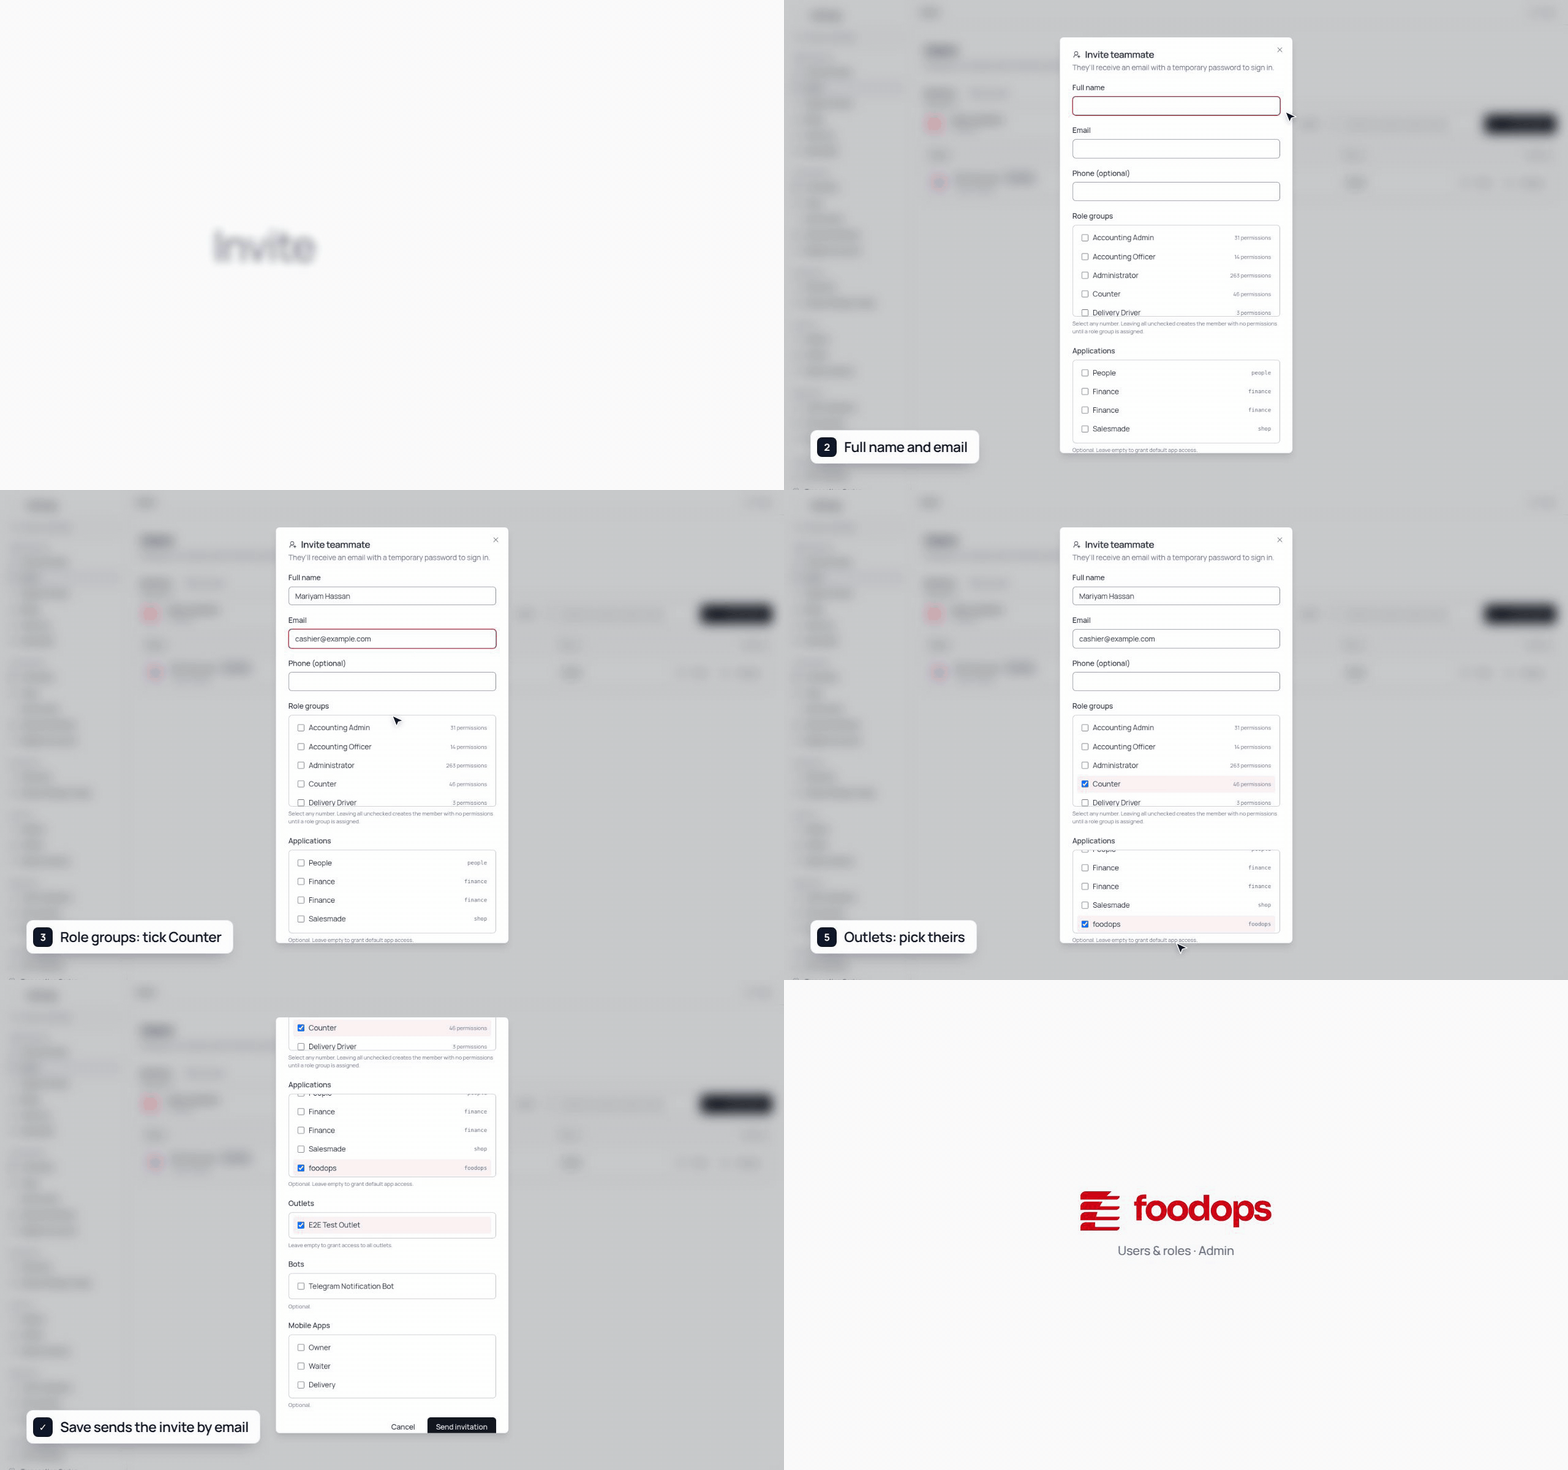
The Invite teammate dialog collects:
| Field | Purpose |
|---|---|
| Full name | Name shown across Hubits apps (required) |
| Required — the invite is sent here and it becomes their login | |
| Phone | Optional |
| Role groups | The permission bundle(s) to give them — tick one or more; if you tick none, the user is invited with no permissions |
| Applications | Optional. Tick the apps they can use; leave empty to grant default app access |
| Outlets | Optional — limit the user to specific outlets; leave empty to give access to all outlets |
Note: User Bots and Mobile apps can also be assigned from the invite dialog. Each section only appears when your organisation has some to offer. Outlet access can be set here or later on the Edit user screen (see below).
3. Save#
The user receives an email with a temporary password to sign in ("They'll receive an email with a temporary password to sign in."). Once they sign in they can use whichever apps you gave them.
Editing a user (outlets, role groups, apps)#
The Edit user dialog manages Role groups, Applications, Outlets (which outlets this user can access), and — when your organisation has any — Bots and Mobile apps (each section hidden if there are none).
Walkthrough B - create or customise a role group#
1. Open Role groups#
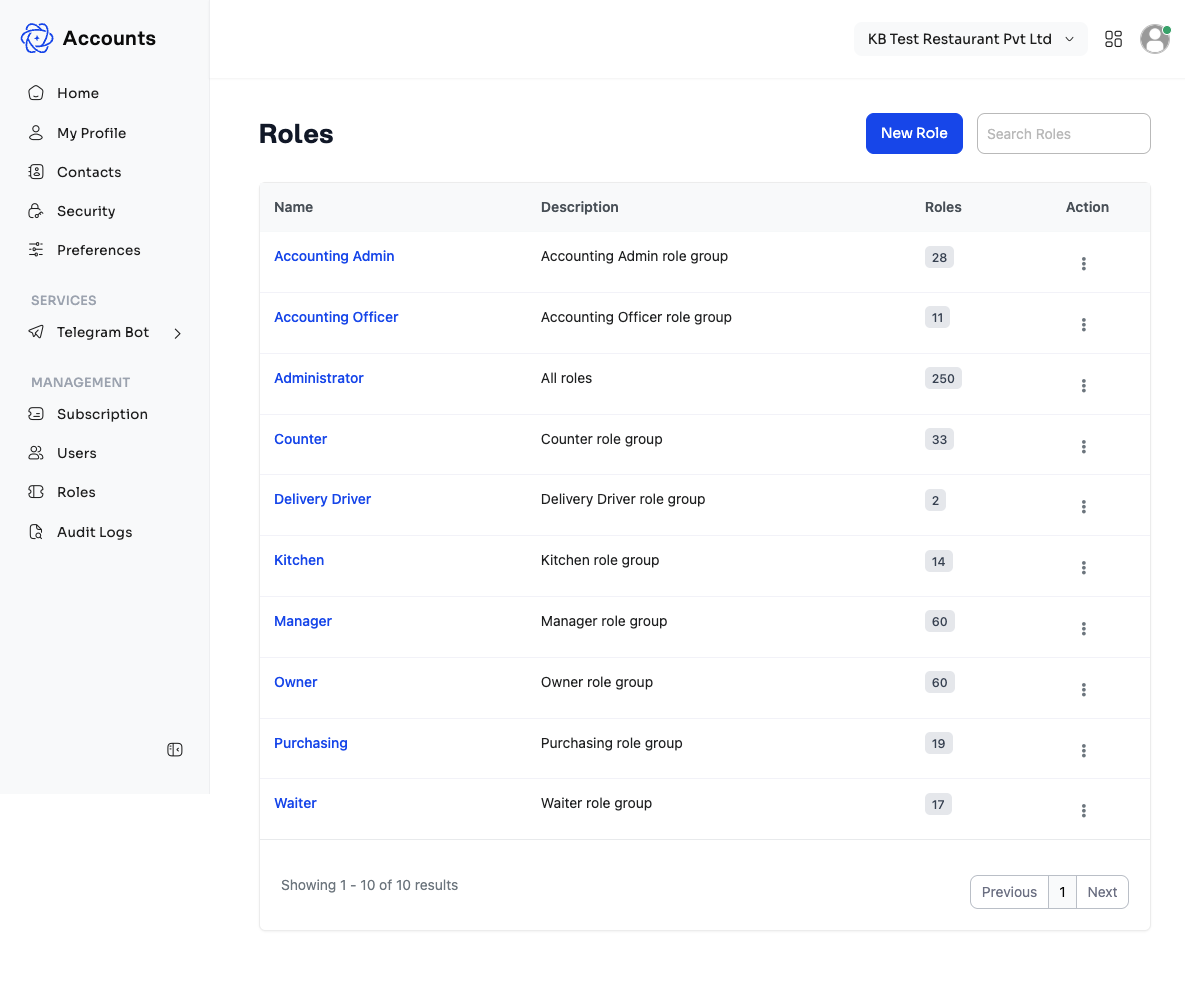
admin.foodops.io → Settings → Organization → Users → Role groups tab. This is where you manage the permission bundles.
2. Click "New role group" or edit an existing one#
- New role group creates a custom role group from scratch — useful for unusual combinations of permissions
- Edit a built-in one to adjust it — e.g., remove Counter's ability to delete orders if you want a read-only cashier role
3. Tick the permissions#
A role group is a named set of individual permissions. Open a group to see a Permissions checklist with a Filter permissions… box. Tick the permissions the group should include. Changes apply straight away to everyone who has that role group.
4. Save#
The role group is now available on the Invite form and the Edit user screen.
Key concepts#
- Single sign-on — one login for all Hubits apps. Users log in once and can move between Foodops, People, Finance, etc. without logging in again.
- Application access - being in the Users list doesn't automatically give access to an app. Tick the apps when inviting or editing; if you leave the Applications box empty, the person gets default app access.
- Role group - a named set of permissions (e.g., "Counter", "Kitchen"). You tick single permissions in it, and assign role groups directly to users. Edit the role group and everyone with it gets the change.
- Outlet access — limits a user to specific outlets. A Waiter assigned to Outlet A sees only Outlet A's tables and orders; Outlet B is hidden from them.
- User Bot — a non-human user that does things for your team (e.g., a Telegram notification bot posting order alerts). Invited like a user but doesn't log in.
- Audit Log — a permanent record of every user action (login, user created, role changed, etc.). Visible to Administrators for compliance and incident investigation.
- Mobile app access — separate from web app access. A user may have web access to Foodops but not the mobile Waiter app, or the other way round.
Common questions#
Q: How do I stop a waiter discarding items unless a manager or administrator approves it? / How do I make discarding a bin item need approval from an admin? A: There is no approval step for discards — Foodops has no "request approval" step, and nothing waits for a manager to sign off. The control is the permission: recording wastage is part of the Costing permissions. A user can discard only if their role group includes the permission to record wastage (or to manage costing); without it the action is refused outright rather than held for review.
So to get the result you want: untick the Costing permissions on the waiter role group (Settings → Organization → Users → Role groups), and leave them on the manager/administrator groups. The waiter then can't discard at all, and a manager does the discard themselves — which also keeps the discard log showing the person who actually authorised it. If you need the waiter to start a discard and a manager to approve it, that's a feature request, not a setting.
Q: What are the Costing permissions and who gets them by default? A: There are five: view costing, manage costing, record wastage, manage recipes, and manage wastage reasons — covering recipe costing, wastage reasons and wastage logs. On newly created organisations the two higher-level default groups get all five and a view-only group gets view costing. These are set up when an organisation is created, so older organisations may not have them at all — check your own Role groups tab rather than assuming. Discards appear in the session-close Discard Log.
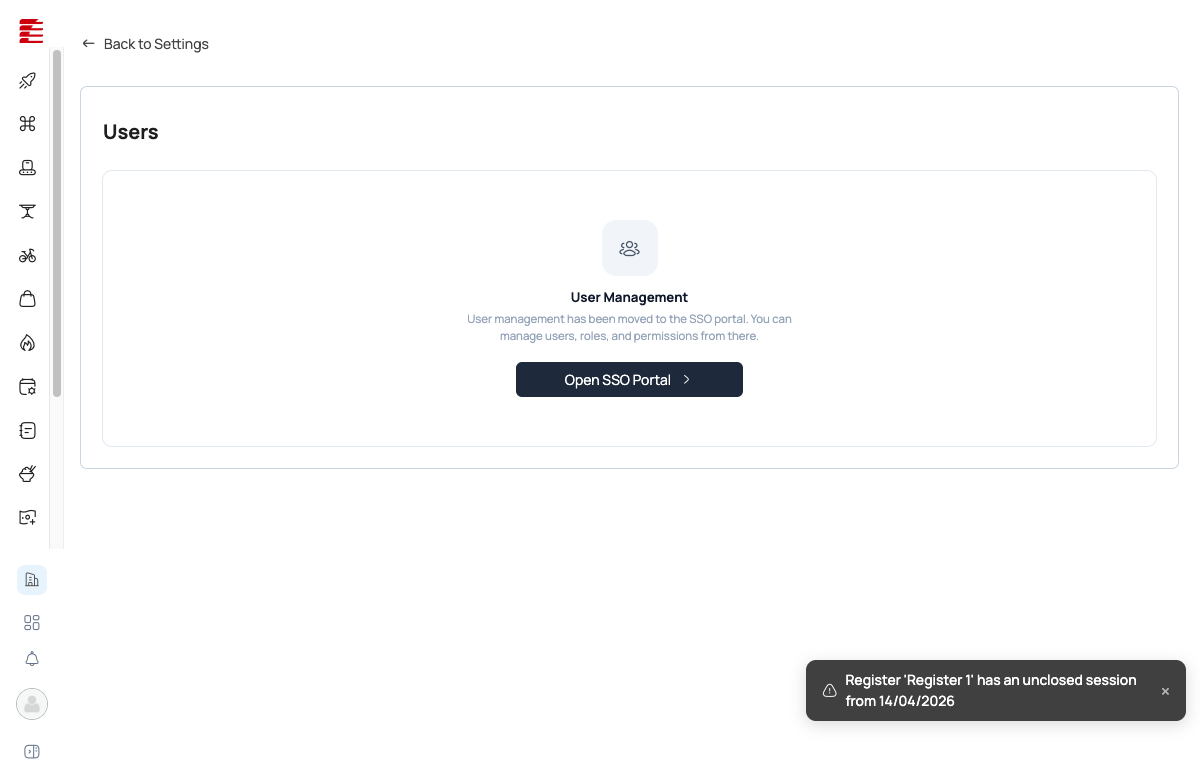
Q: Where do I manage users? A: In Foodops — admin.foodops.io → Settings → Organization → Users (Members + Role groups tabs). The same login still works across Foodops, People and Finance.
Q: I invited someone but they never got the email. A: Check the email address for typos. Ask them to check spam. If it's still missing, open the user's Edit screen from the Users list and click "Resend Invitation" — this sends a fresh link.
Q: Can I have a user with access to only some outlets? A: Yes — select specific outlets when inviting or editing. The user will only see those outlets' data in reports, POS, kitchen, etc.